
Experiencing recurring Hobocooundiness.com pop‑ups can be annoying and sometimes risky. These pop‑ups often stem from adware, browser notifications, or malicious settings that were accidentally allowed. This guide will walk you through safe, effective steps to remove these pop‑ups and protect your device.
What Causes Hobocooundiness.com Pop‑Ups?
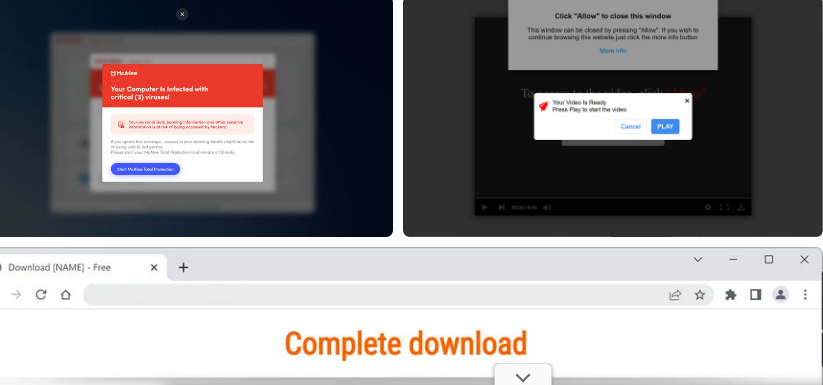
Hobocooundiness.com pop‑ups typically appear when:
- A website you visited triggered a browser notification request that was accidentally accepted
- A malicious browser extension was installed
- Adware is present on your device
- Your browser settings were changed without your knowledge
These pop‑ups are not harmless — they can redirect you to dangerous sites or attempt to get you to install unwanted software. Removing them quickly is important for your security and browsing experience.
Step 1: Close Any Active Pop‑Ups Safely
Do not click on the pop‑up itself. Clicking can lead to more pop‑ups or trigger unwanted downloads.
Windows:
- Press Alt + F4 to close the tab/window.
- If that doesn’t work, open Task Manager (Ctrl + Shift + Esc), select your browser, and choose End Task.
Mac:
- Press Command + W to close the tab.
- If the browser freezes, press Command + Option + Esc, select the browser, and click Force Quit.
Step 2: Clear Your Browser’s Cache and Data
Clearing stored data removes cookies and site files that may be triggering unwanted pop‑ups.
Google Chrome
- Go to Settings → Privacy and security.
- Select Clear browsing data.
- Choose All time.
- Check Cookies and other site data and Cached images and files.
- Click Clear data.
Official guide:
https://support.google.com/chrome/answer/95582
Mozilla Firefox
- Go to Settings → Privacy & Security.
- Scroll to Cookies and Site Data.
- Click Clear Data.
Official guide:
https://support.mozilla.org/en-US/kb/how-clear-firefox-cache
Microsoft Edge
- Go to Settings → Privacy, search, and services → Clear browsing data.
- Choose All time.
- Select cookies and cached files.
- Click Clear now.
Official guide:
https://support.microsoft.com/en-us/microsoft-edge/view-and-delete-browser-history-in-microsoft-edge
Step 3: Remove Suspicious Browser Extensions
Malicious extensions can cause persistent pop‑ups or unwanted redirects.
Chrome & Edge
- Enter
chrome://extensionsoredge://extensionsin the address bar. - Look for unfamiliar extensions.
- Click Remove on anything suspicious.
Chrome help:
https://support.google.com/chrome_webstore/answer/2664769
Edge help:
https://support.microsoft.com/en-us/microsoft-edge/add-or-remove-browser-extensions-in-microsoft-edge
Firefox
- Enter
about:addonsin the address bar. - Under Extensions, remove anything you don’t recognize.
Firefox help:
https://support.mozilla.org/en-US/kb/manage-add-ons
Step 4: Reset Your Browser to Default Settings
Resetting removes unwanted changes to your homepage, search engine, and other settings.
Chrome
- Go to
chrome://settings/reset. - Click Restore settings to their original defaults.
Chrome reset guide:
https://support.google.com/chrome/answer/3296214
Firefox
- Open Help → More troubleshooting information.
- Click Refresh Firefox.
Firefox reset guide:
https://support.mozilla.org/en-US/kb/refresh-firefox-reset-add-ons-and-settings
Edge
- Go to
edge://settings/reset. - Select Restore settings to their default values.
Edge reset guide:
https://support.microsoft.com/en-us/microsoft-edge/reset-microsoft-edge-cc30ffed-1807-1c6f-f21f-acd2902ec1a1
Step 5: Scan Your Computer for Malware or Adware
Even after cleaning your browser, malware can remain on your system and reinstall unwanted pop‑ups.
Recommended Tools
Malwarebytes (Free and Paid)
A trusted scanner that detects adware and malware:
https://www.malwarebytes.com/mwb-download
Windows Defender (Built‑In for Windows PCs)
- Open Windows Security.
- Go to Virus & threat protection.
- Choose Scan options → Full scan.
Guide to Windows Defender:
https://support.microsoft.com/windows/run-a-virus-scan-in-windows-10
Optional Trusted Antivirus Software
- Avast: https://www.avast.com
- Bitdefender: https://www.bitdefender.com
- Kaspersky: https://www.kaspersky.com
Only download software from official sites.
Step 6: Block Browser Notifications from Hobocooundiness.com
Sometimes pop‑ups are triggered by browser notifications you allowed in error.
Chrome
- Go to
chrome://settings/content/notifications. - Under Allowed, find Hobocooundiness.com.
- Click the three dots next to it and choose Block or Remove.
Chrome notifications guide:
https://support.google.com/chrome/answer/3220216
Firefox
- Go to Settings → Privacy & Security → Permissions → Notifications.
- Click Settings….
- Remove suspicious sites.
Firefox notifications guide:
https://support.mozilla.org/en-US/kb/push-notifications-firefox
Edge
- Go to
edge://settings/content/notifications. - Find and remove any unknown sites.
Edge notifications guide:
https://support.microsoft.com/en-us/microsoft-edge/push-notifications-in-microsoft-edge
Step 7: Keep Your System and Browser Updated
Updates include security patches that protect against adware and malware.
- Chrome:
chrome://settings/help - Firefox:
about:preferences#general - Edge:
edge://settings/help - Windows Updates: Settings → Update & Security
- Mac Updates: Apple menu → System Settings → General → Software Update
Final Tips to Prevent Future Pop‑Ups
- Only download software from official sources.
- Avoid clicking on suspicious ads or links.
- Do not accept notification permissions unless the site is trusted.
- Run regular malware scans.
Conclusion
Removing Hobocooundiness.com pop‑ups requires a combination of browser cleanup, malware scanning, and notification control. By following these steps carefully, you can restore your browsing experience and keep your device safe.
Related Scam Alerts and Reviews
- Egad-Blue.com Review
- 52casino.cc Scam Review
- Eelry Jewelry Review
- Ubanan.com Review
- Capital One Fraud Department Phone Scam
- Cheerstash.com Review
- News-gojaxa.cc Pop-Up Ads
- Prokastking.shop Review
- iPureHear Hearing Aids Review
- Bettyelane Review